Embarking on a bathroom renovation project can be an exciting yet overwhelming endeavor, especially for those new to the world of home improvement. However, with careful planning, the right tools, and a step-by-step approach, even beginners can successfully transform their bathroom into a space they can be proud of. In this blog post, we will guide you through the process of a DIY bathroom renovation, breaking it down into manageable steps to help you achieve a beautiful and functional bathroom.
Step 1: Planning and Inspiration Before diving into the renovation, take some time to envision your ideal bathroom. Explore design magazines, online platforms, and websites like bathroom4less.co.uk for inspiration. Determine your budget, desired style, and the scope of your project. Make a list of the essential elements you wish to include, such as new fixtures, flooring, lighting, and storage options.
Step 2: Measure and Assess the Space Carefully measure your bathroom to get accurate dimensions of the existing layout. Consider the location of plumbing lines, electrical outlets, and windows, as these will impact your renovation plans. Assess the condition of the walls, floors, and any existing fixtures to determine if any repairs or replacements are necessary.
Step 3: Create a Design Plan Using the measurements and assessment from the previous step, create a detailed design plan for your new bathroom. Consider the placement of fixtures, the flow of the space, and the functionality you desire. Sketch out the layout, indicating where each element will be positioned.
Step 4: Demolition and Removal Now comes the exciting part—demolition! Before starting, ensure you have the necessary safety equipment, such as goggles and gloves. Begin by removing old fixtures, cabinets, and flooring. Be cautious not to damage the underlying plumbing or electrical systems. If you encounter any challenges or are unsure about certain aspects, consult a professional.
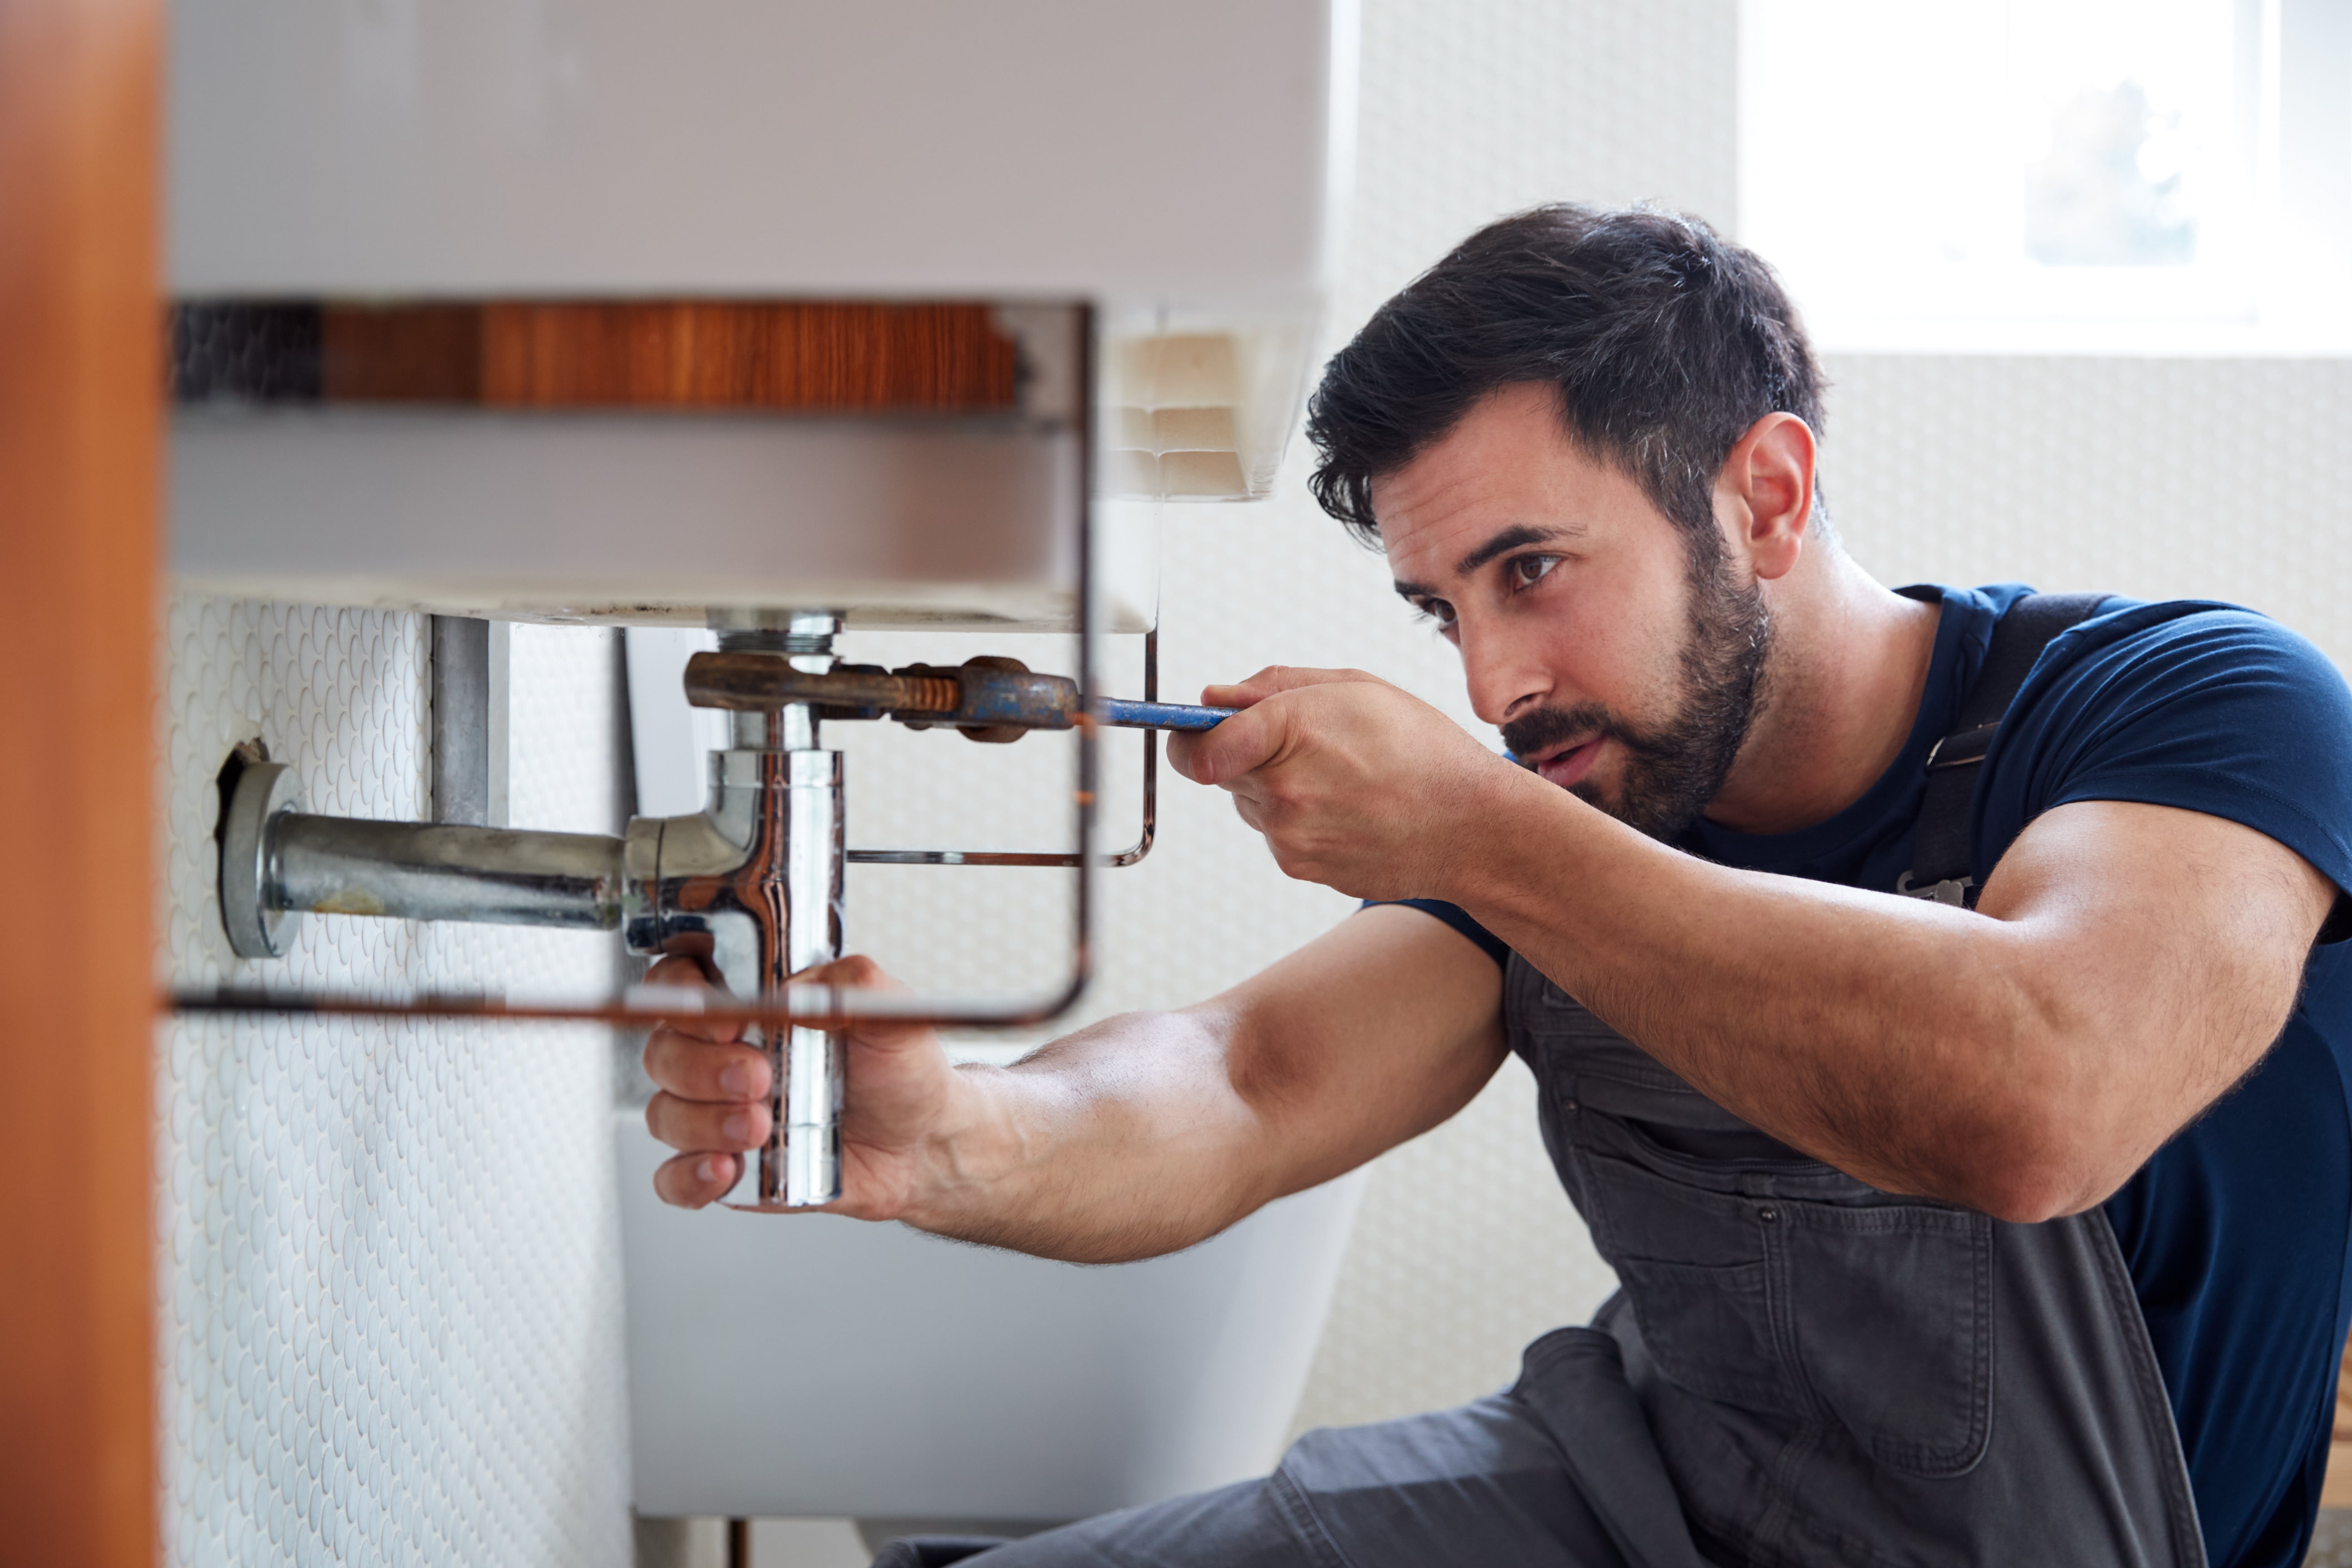
Step 5: Plumbing and Electrical Work If you're making changes to the plumbing or electrical systems, this is the time to do it. Consult with a professional plumber or electrician if needed, especially if you're unfamiliar with these tasks. Ensure all connections are secure and up to code before proceeding to the next step.
Step 6: Installation of Fixtures and Features Install new fixtures, such as the bathtub, shower, toilet, sink, and cabinets, following the manufacturer's instructions. Pay attention to proper sealing and plumbing connections. If you're installing new lighting fixtures, ensure you follow electrical safety guidelines and consult an electrician if necessary.
Step 7: Flooring and Wall Installation Lay the chosen flooring material, whether it's tiles, vinyl, or laminate. Ensure proper waterproofing measures are taken, especially in areas prone to moisture. Install wall tiles or apply paint, depending on your design plan. Take your time to achieve a neat and professional finish.
Step 8: Finishing Touches This step involves the smaller details that bring your bathroom together. Install mirrors, towel bars, toilet paper holders, and other accessories. Apply caulking around fixtures, edges, and seams to create a clean and watertight finish. Consider adding storage solutions, such as shelves or cabinets, to maximize functionality.
Step 9: Final Checks and Clean-up Take a step back and admire your newly renovated bathroom! Conduct a thorough inspection to ensure everything is in proper working order. Test all fixtures, check for any leaks, and make any necessary adjustments. Give the bathroom a good clean, removing any dust or debris from the renovation process.
Conclusion: Congratulations on successfully completing your DIY bathroom renovation! By following this step-by-step guide, even beginners can achieve impressive results. Remember, take your time, seek professional help when needed, and enjoy